8 Hardie Siding Installation Mistakes to Avoid
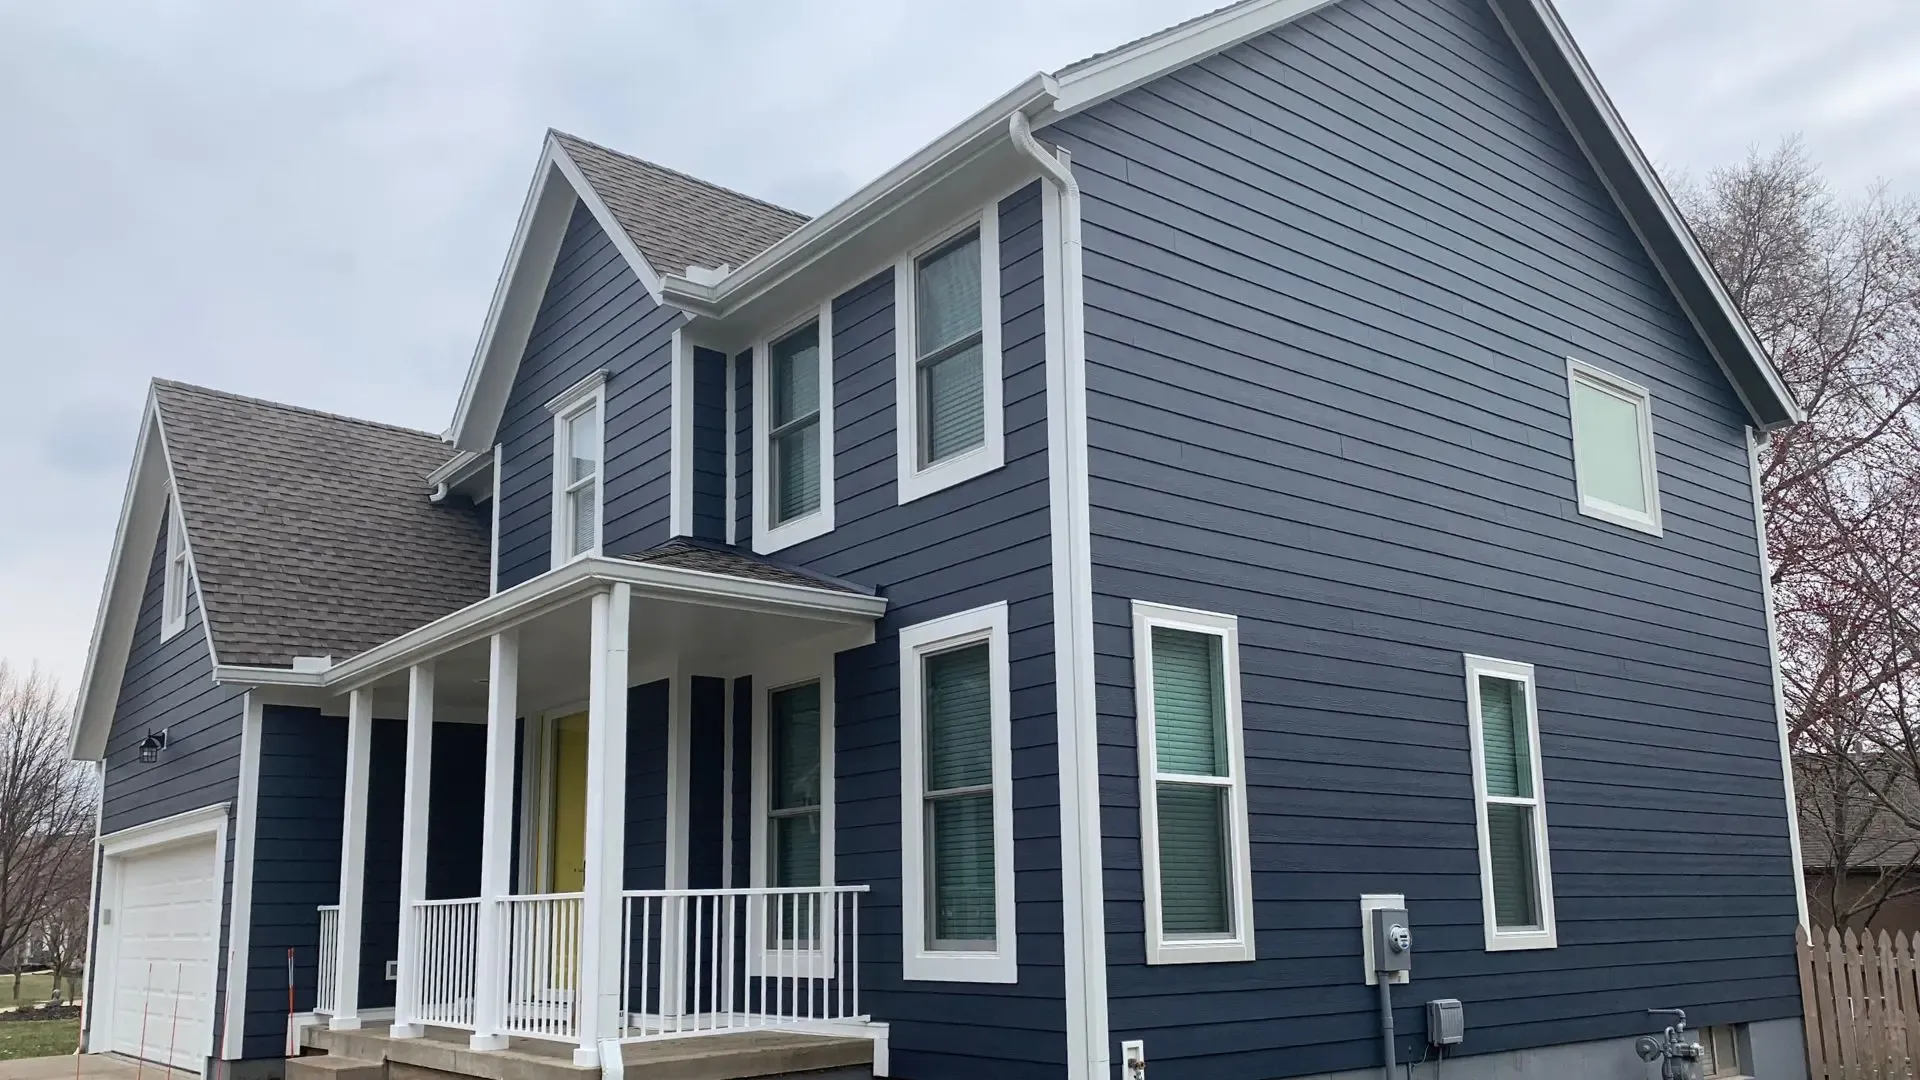
James Hardie siding and trim products last up to 50 years when installed correctly and maintained well over their lifetime. Finding an experienced contractor who is trained by the manufacturer and has a track record of successful installations is a vital key to your siding’s performance over the years. At Safe Harbor, we are a James Hardie Elite Preferred Contractor, so we follow their strict guidelines on the installation process to meet warranty requirements. Read on to gain valuable insight into mistakes some contractors make when installing Hardie siding.
Common Installation Mistakes Our Team Is Careful to Avoid When Installing Hardie Siding and Trim
Durable Hardie siding is weather resistant, long-lasting, and delivers vibrant color and stunning style. But it won’t perform as it was designed to if it isn’t installed correctly. That’s why it’s so important to choose a Hardie trained installer who will abide by their best practices and high standards for your project.
1. Uneven siding board installation
A common sign Hardie siding wasn’t installed correctly is uneven board placement. Hardie’s popular horizontal lap siding should be installed evenly. This traditional siding is 8.25 inches wide, and when layered over one another, 7 inches of the siding plank should be exposed. If more or less than 7 inches is visible, that indicates it was installed incorrectly. Uneven boards detract from your home’s aesthetics and look unsightly. They can sometimes create irregular gaps that open your house up to costly moisture intrusion—the very thing siding should prevent!
2. Improper nail use and placement
Proper installation of Hardie siding includes nailing the boards to the wall in the correct place using the right type of nail. When contractors don’t nail boards in the correct spot, the nail may be visible and can damage the board. When nails are not in the right position, they can cause the boards to crack, making your home vulnerable to moisture intrusion. Likewise, if the wrong nail type is used, they may rust over the years and therefore stain your siding planks.
3. Hardie plank joints
Hardie siding planks are 12 feet long, so they need to join together on long walls. They should be connected in “moderate contact,” meaning the boards should touch each other (without leaving a gap for possible expansion). If installation was done incorrectly, a gap may be visible between planks.
4. Incorrect paint application
It’s easy to spot incorrect installation practices by looking at the paint on your Hardie siding. When paint isn’t applied properly, it will look uneven, sloppy, patchy, or spotty in some areas. And if enough paint isn’t applied, the paint job won’t last like it should. Dark colors require more coats of paint than light ones. Hues will fade faster if sufficient paint isn’t used.
5. Improper clearances
Hardie siding needs 8 inches of clearance from other surfaces. Your siding should never touch your driveway or the dirt during installation. Why? Because it could absorb moisture by coming into contact with it, and that can cause its paint to eventually peel off. Wet siding contracts and expands depending on the temperature.
6. Using too few fasteners
Hardie siding and trim products must be connected to studs consistently with full-headed nails or screws. Due to their weight and flexibility, if they aren’t properly secured, the panels can flex a bit if the wind hits them at the right angle. James Hardie Elite Preferred Contractors (like us!) know how to position nails and screws accurately to avoid problems, so you won’t have this issue.
7. Unpainted joints
If you opt for pre-primed siding rather than a factory baked-on finish (ColorPlus® Technology), then the siding and its joints must be painted. If joints aren’t painted, moisture can infiltrate, and over time the water penetration will contribute to problems like warped or cracked siding.
8. Caulking issues
Messy caulking can open your home exterior to damage. When ColorPlus technology is used, the color of caulking should match the color of siding (not the trim). The seams of your Hardie siding need to be caulked (with a 3/8-inch bead of approved caulking) when it is installed. Caulking is applied between your siding, trim, soffit, and fascia boards. Caulking seals the small (1/8-inch gap) between these boards ensuring moisture infiltration is avoided.
If you spot excess caulk where it shouldn’t be, that may mean your siding installation wasn’t top-notch. If a larger gap was created during installation and the contractor filled it with caulk to cover the gap, that’s not effective in safeguarding your exterior from water damage. It indicates possibly improper installation of the boards or wrong use of the caulk—or both. When too much caulk is used, it may lift off your exterior and expose the seam, which makes your home vulnerable to moisture damage.
Avoid Common Installation Mistakes by Hiring a Contractor Who Was Trained by James Hardie
Talk with your siding contractor about the above issues and ensure they abide by the manufacturer’s standards. They should be a James Hardie Elite Preferred Contractor, to ensure you have someone who was trained by the manufacturer so the warranty will be honored.
The good news is that you can avoid making a significant investment in new siding only to find out it wasn’t installed correctly. Check online reviews, ask your contractor for references, look at the BBB ratings and Angi, and go see some of the company’s work for yourself.
At Safe Harbor, We Install Hardie Siding and Trim the Right Way the First Time!

As you can see, you don’t want just anyone installing your Hardie siding and trim. At Safe Harbor, as a James Hardie Elite Preferred Contractor, we follow their strict guidelines on the installation process you get the optimal long-term performance you deserve and that Hardie was engineered to deliver. Learn more about the many benefits of Hardie Siding by taking a look at our Kansas City Homeowner’s Guide to James Hardie Siding.
Get Your Free Estimate
in Just 3 Simple Steps
Start by Entering Your Zip Code Below
Latest Blog Posts
Choosing siding for your Kansas City home isn’t a small decision, especially with weather that swings from humid summers to sudden cold fronts and frequent hail...

Replacing siding usually starts with a simple question: What will hold up best on my home? For many Kansas City homeowners, that answer isn’t always obvious...
When we help homeowners choose a new front door, we always look for products that perform well in Kansas City’s weather while delivering long-term value. One of the most trusted names we work with is ProVia.

Reviews
We talked to multiple companies while deciding who to use for the exterior of our home. Safe Harbor was transparent, fast, and offered James Hardie siding compared to all the other companies only offering vinyl. Safe Harbor was much more affordable than many of the other companies, who just wanted as much money as possible. We are extremely happy with our siding, soffit, fascia, flashing, gutters, windows and the guarantee that comes with their work. If there was any more work to be performed, without a doubt, we would chose safe Harbor again.
Safe Harbor installed James Hardie siding, soffits, and gutters. The install was meticulous and our home was left cleaner than when the company showed up. The level of detail in the install was beyond expectation! We are so pleased with the quality of the work and the professionalism of the install team!

Trusted Brands, Partners & Awards


Contact Us